Solo & group guide · Updated September 27, 2026
How to use Shot after Shot
Take a photo strip on your own or with friends on separate devices. Choose a layout, check your camera, take the photos, then decorate and download the result. Here is what to do at each screen.
You need a camera and an internet connection. No account or installation. The screenshots show the real controls, with neutral camera placeholders in the editing and download previews.
Open the photoboothStep 1
Start with Solo or Group
Open the photobooth and press Start. Choose Solo if you are taking photos on your own, or Group if friends will join from their own devices. You do not need an account or an app.
People sharing one camera can use Solo together. Group is for a shared session with separate cameras, including friends in different places.

Choose your mode after pressing Start on the homepage. Open the image for a closer look. Taking photos with friends? Create or join a party
The host chooses Group, presses Create Party, and enters a nickname. In the waiting room, copy the invite link and send it to your friends.
Friends can open the invite link directly, or enter the room code or invite link into the Join field and press its arrow. Enter a nickname and enable your camera before the host continues.
Keep the booth tab open while taking the photos, and wait for everyone to be ready.
Create or join a party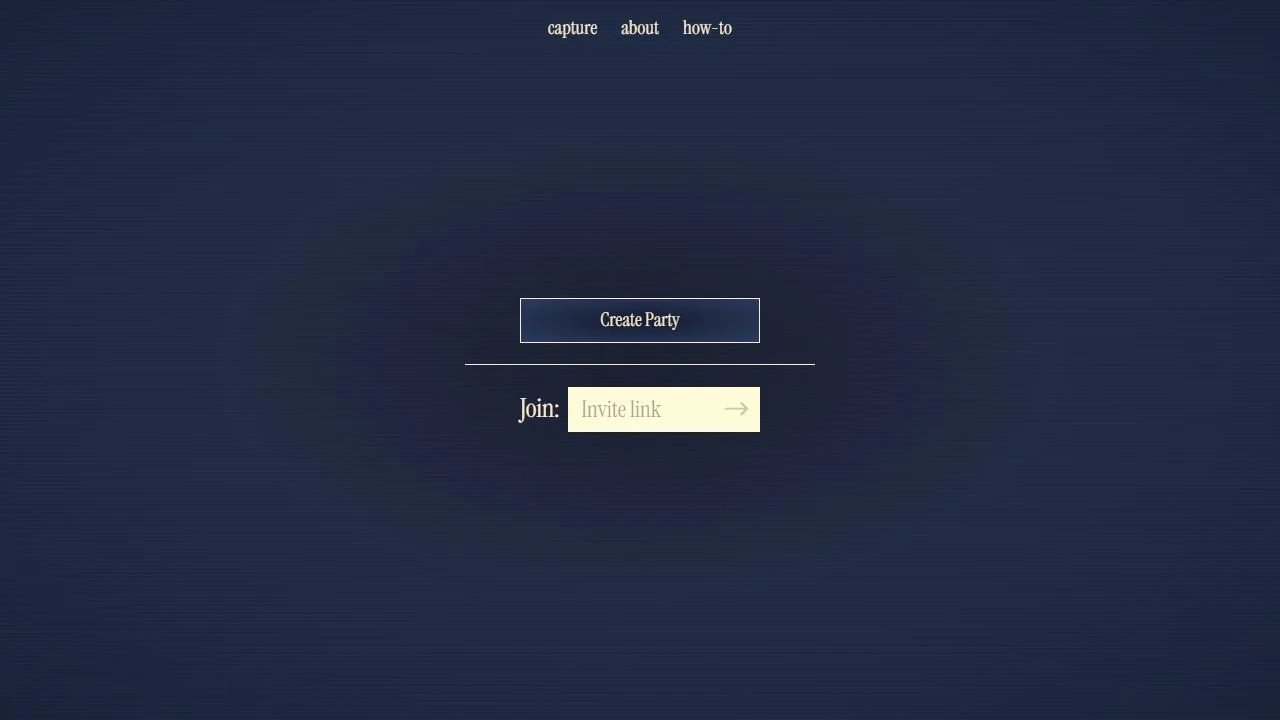
Create a new party, or paste a friend's complete invite link into Join. Open the image for a closer look. Step 2
Choose a frame layout
Use the arrows beside the frame preview to browse the layouts. The Classic Strip stacks photos vertically; the 4-Box Grid arranges them in a square. Press Select when you find the layout you want.
In a group session, the host confirms the frame. The available layouts depend on how many people have joined, so get everyone into the room before choosing.
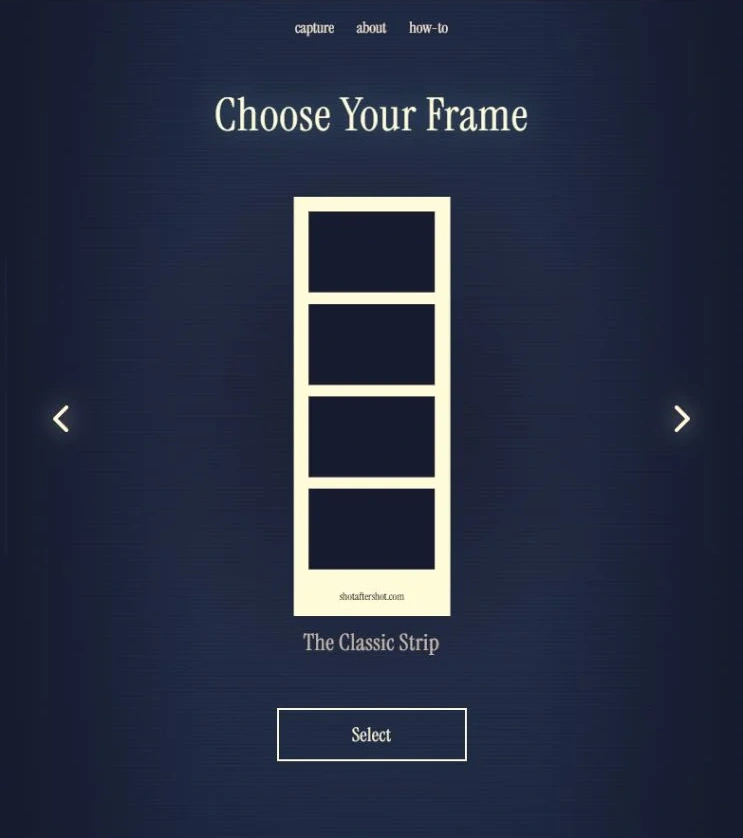
Browse the layout previews, then press Select to use one. Open the image for a closer look. Step 3
Enable your camera and set the timer
Press Enable camera and allow access when your browser asks. Check the preview before continuing. If you have more than one camera, choose the one you want from the Camera menu. Flip camera changes the direction of your preview.
Frame count sets how many finished strips or grids you will take, from one to four. It does not change the number of photo slots in your chosen layout. Timer between photos gives you one to ten seconds to change your pose.
Start with one frame and a five-second timer. Once the camera is ready, press Continue to photos. In Group, everyone enables their own camera and the host sets the frame count and timer.
Blank preview? Try the camera troubleshooting guide.
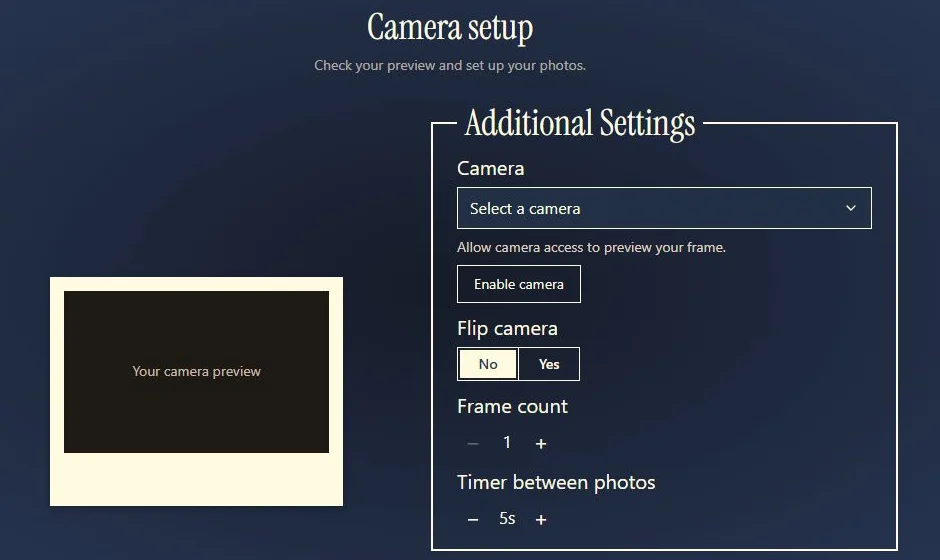
Before camera access, the preview is empty. The settings sit beside it. Open the image for a closer look. Step 4
Take your photos and check the result
Keep your face inside the preview and watch the countdown. Change your pose between photos, rather than moving while a shot is being taken. A window or lamp in front of you helps your camera capture a clearer picture.
Review the finished frame before decorating it. Use Retake if you want to shoot that frame again, or continue to editing when you are happy with it. In a group, the host controls the retake; other participants can request one.
Need a pose plan? Try these four solo poses.
Step 5
Customize your finished strip
In Customize Frame Style, choose Plain Color or an available Template. Plain Color lets you pick a shade or enter a HEX color. Watch the preview to check that your border works with the photos, then press Next.
The following screens let you choose photo effects and add stickers. Pick a sticker, drag it into position, and adjust its size. Keep decorations away from faces. If you made several frames, use the preview arrows to check each one.
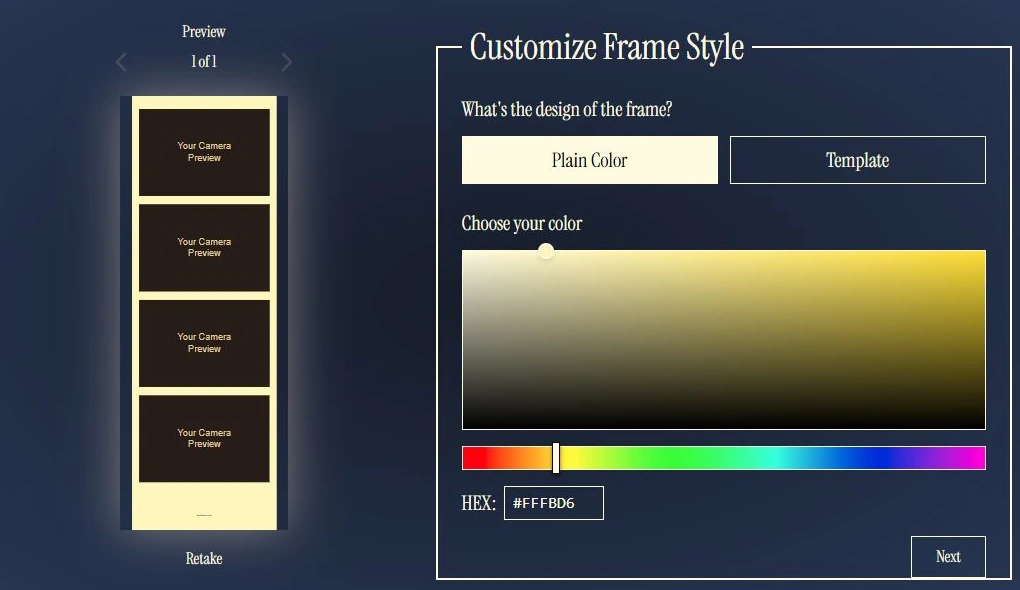
The preview updates as you change the color. Camera cells use placeholders here. Open the image for a closer look. 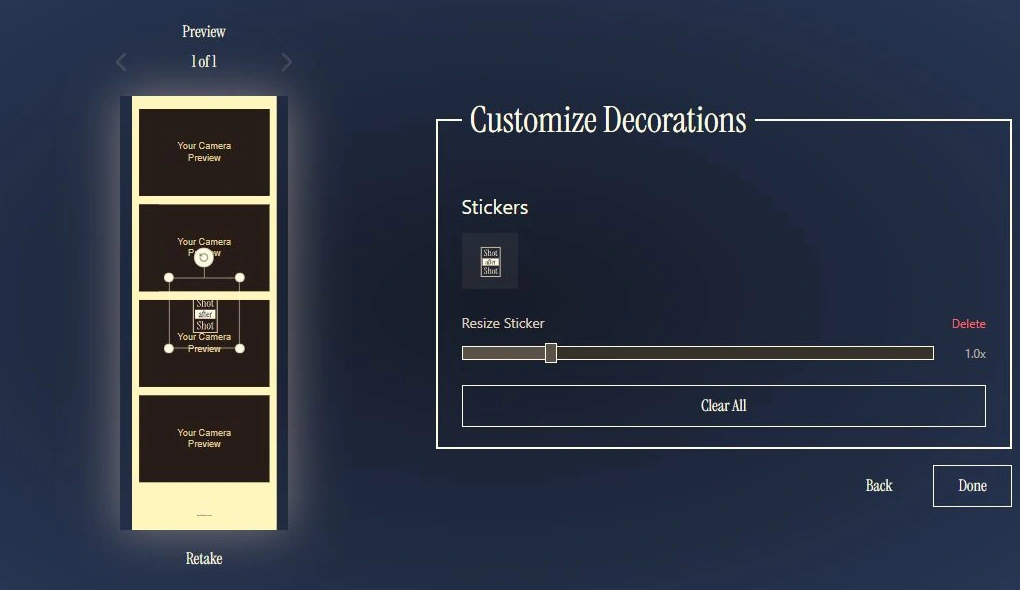
Select a sticker to resize it or delete it. Press Done when the decorations are ready. Open the image for a closer look. Step 6
Download a copy to keep
On the final screen, press Download. One finished frame downloads as a PNG image. If you made several frames, each file gets its own download link, and a phone can send them through the save/share menu.
Check your Downloads folder, or your phone's Files app, and open the saved image to make sure you have it. A share link is useful for sending the result to friends, but keep your own downloaded copy too. Photos stored by the service are temporary.
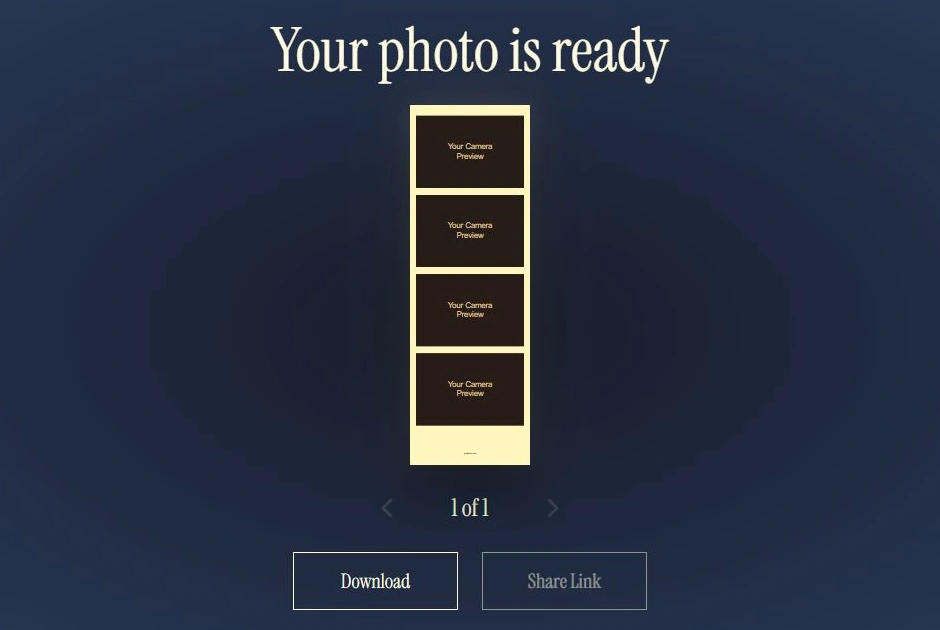
Download keeps a local copy of the finished frame. Camera cells use placeholders here. Open the image for a closer look.
A few things that can trip you up
Why is my camera preview blank?
Press Enable camera and check that the browser has permission. If another app is using your webcam, close it and try again. Your device's privacy settings can also block camera access. The camera guide has more checks.
Why can't I continue in a group?
The host advances the session once everyone's camera is ready. Ask each person to check their preview. If the room asks for a fresh invite, open a new invitation from the host or create a new party.
Where did my download go?
Check your browser's downloads, your Downloads folder, or the Files app on your phone. Each finished image has its own PNG file; open them individually, or use the save/share menu on a phone to send several at once.
Want a paper copy? Read how to print your strips. For privacy information, read our privacy policy.
Still stuck? Contact Shot after Shot and describe the screen you reached.